In this article we show you ten nail art ideas that use glitter. They’re all very simple, yet so creative and look amazing! It will take you just few minutes for each idea and you can make almost every of it with just two nail polishes. Check them out and let us know which is your favorite!
1. Aquamarine
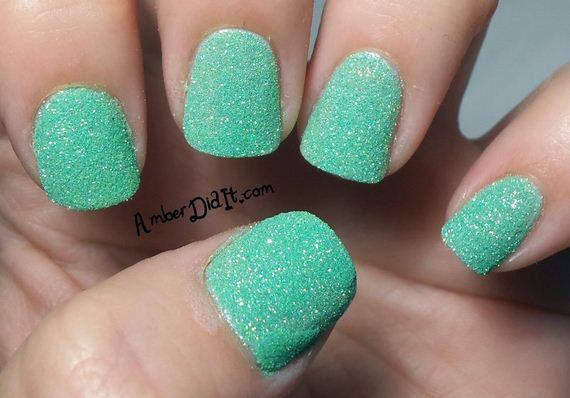
via amberdidit.com
Using bright colors as your nail polish can be really nice and if you add glitter, it’s going to be amazing! The aquamarine can serve as great example here – even though the color is more summer-y, it will be great for any season too. Just use this color or similar as your coat base and coat your nails in glitter jar. If you want to, you can apply clear coat for more glossy look, or you can leave it like this.
2. Gold Glitter
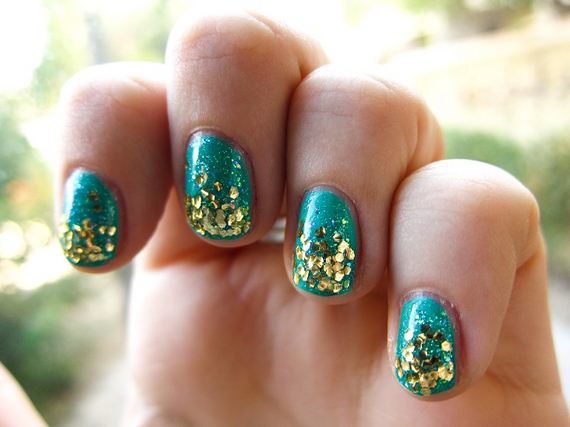
via yve-style.com
We’ll stick to lighter colors once again, especially to all shades of blue! Instead of aquamarine, for this nail art choose other shade of blue – turquoise is a great choice. It can be shimmery, or just a basic coat. After you apply it, dip the top of your nails in gold glitter, wait for few minutes to dry and voila – you’re ready to go!
3. Colorful Glitter
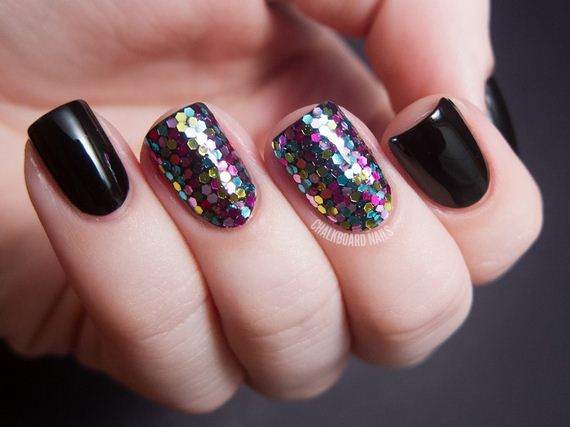
This nail art is super easy, but it requires some time and definitely lots of patience because you arrange each piece of glitter. First start by painting your nails black and apply a stripe of horizontal clear nail polish in order to stick the glitter to. Next step is putting each piece of glitter carefully with a dotting tool dipped in water. If you wish a smoother texture, after you’re done with the glitter, just do a topcoat.
4. Rose Glitter
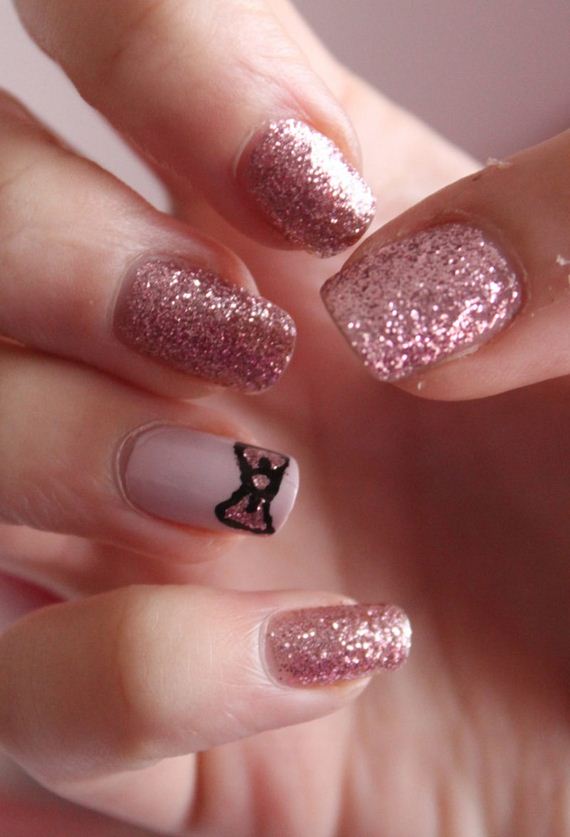
via ugmag.net
Let’s make things little rose, shall we ladies? So, for this nail art you need a base coat in rather neutral color, such as baby pink or beige. Dip your fingers in rose glitter and leave the ring finger without glitter. Instead, use black nail polish to draw a ribbon and fill it carefully with glitter. If that’s too complicated for you, you can just coat the ring finger with glitter and leave out the rest, or vice versa.
5. Mermaid Effect Glitter
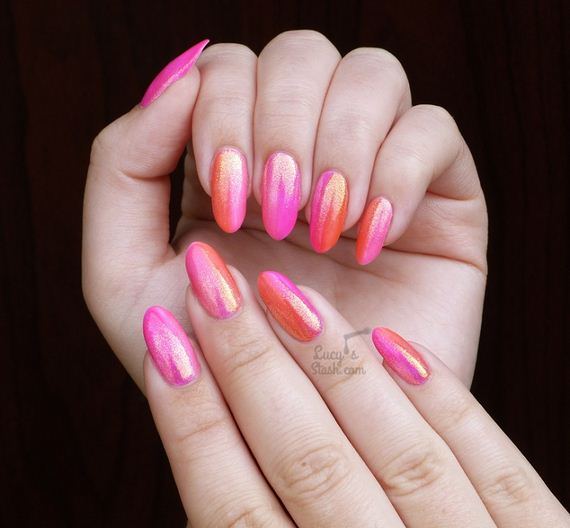
via lucysstash.com
To create the mermaid glitter effect, first it’s recommended to coat your nails with white creme gel polish because it makes neon colors to appear brighter. Then, paint your nails in two halves with different colors to create the gradient effect. Use a brush to blend it. When you’re done blending, apply a special nail polish for mermaid effect and last step is covering the nails with topcoat. You can use other colors if these aren’t your thing!
6. Gradient Glitter
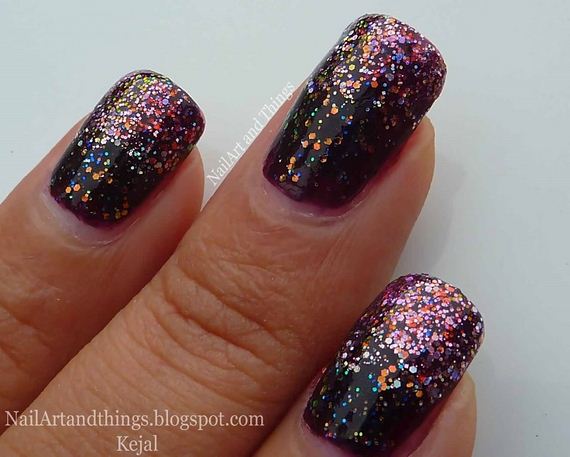
via nailartandthings.blogspot.mk
Here’s another nail polish idea that includes this amazing effect. This time there’s no need for mermaid effect, but just a gradient one. To achieve this nail look, you need a base coat in dark plum color or any other dark color by your choice and your favorite glitter. Apply the base coat and if your’re using a glittery nail polish, first way for the base to dry and then apply the glittery one. Apply more coats on the tips of the nails to create the gradient effect and lastly, apply a clear coat over the nails for better gloss.
7. Hot Chili Glitter
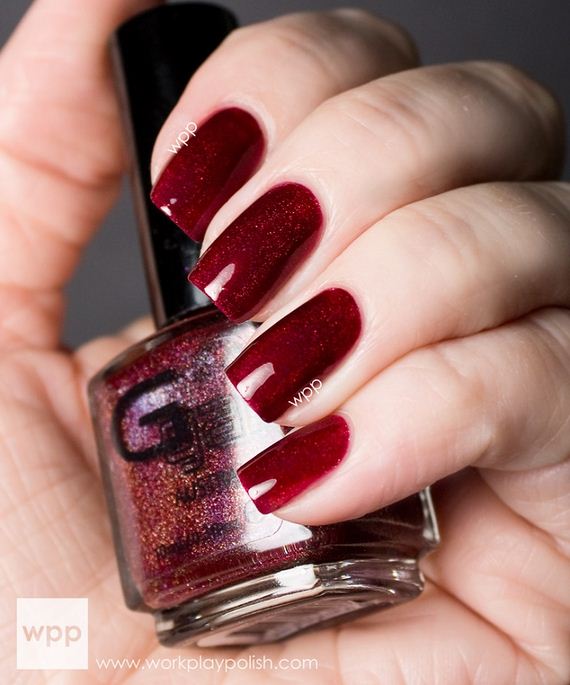
This is just one nail polish, so if you have one and you’re willing to buy it, all you’ll need to do is just apply one or two coats of it. But, you can also experiment and use two nail polishes – one with the base color and one with glitter. It’s really simple anyway and the good thing about this nail look is that the glitter is very subtle, which allows you to even wear it at work.
8. Black Matte with Glitter

This nail look is an amazing combination of matte and glitter. You can use a black matte nail polish or any other color you like. Add one or more coats if you need to and then think about how you want your glitter to be. You can choose spike like on the picture, or some other shape. Cutting a paper in that shape and placing it on top of our nails can save us time from correcting mistakes.
9. Rainbow Glitter Gradient
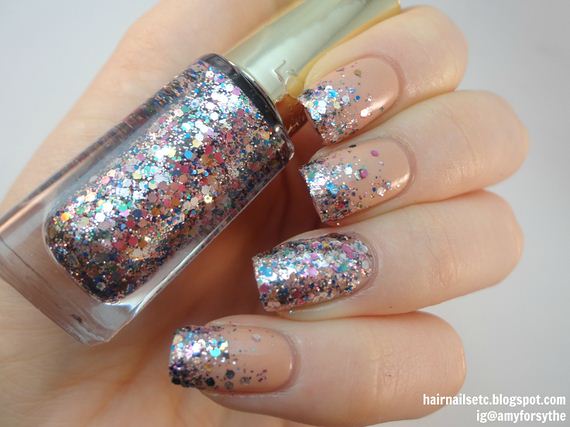
via hairnailsetc.com
We’re back to the gradient effect. There are so many beautiful nail art ideas and it was really hard picking only few! For this one you need a beige or nude colored nail polish as your base coat and glittery nail polish, such as the one on the picture. It’s really simple – apply the base coat, wait for it to dry and then apply the glittery nail polish, with few more coats on the tips for the gradient effect.
10. Minimalist Glitter
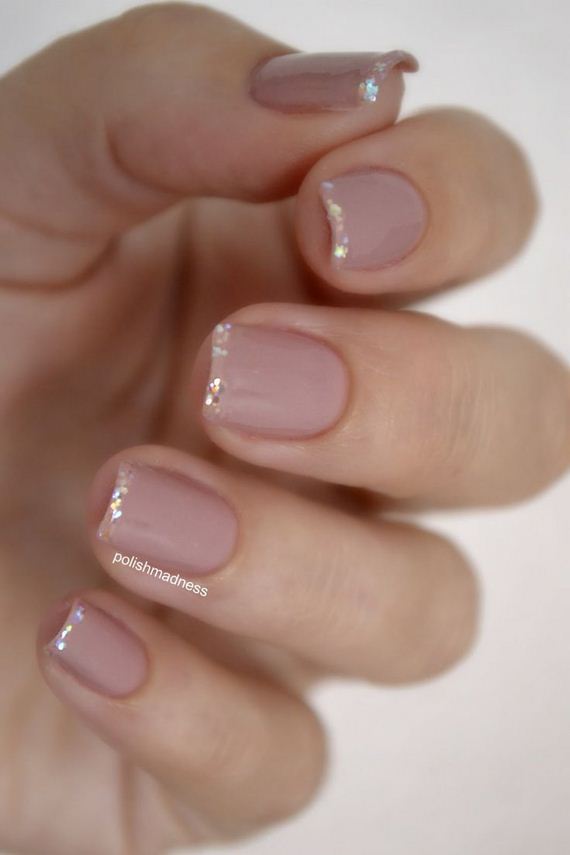
If everything so far was too much for you, we picked this one as our last idea. It’s an amazing combination of minimalism, french manicure and glitter. Besides that, it’s so simple that we’re pretty sure you’ll make it even on your first try. Just paint your nail in neutral nail polish (maybe matte too?), and then just apply just a small horizontal glitter coat to achieve the french manicure look and you’re done.