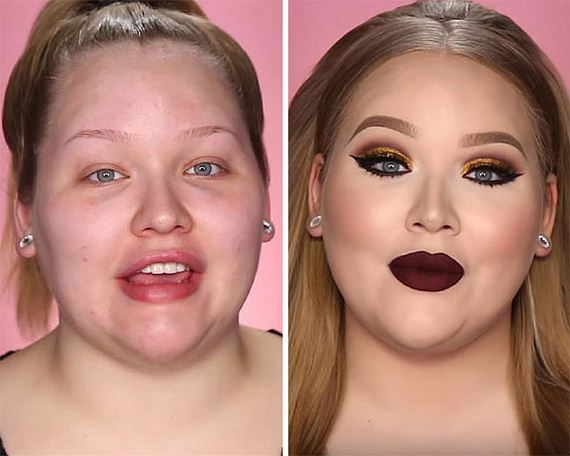
If you’re looking for a dramatic change in your makeup routine, try this cut crease makeup tutorial for your next party or girls’ night out.
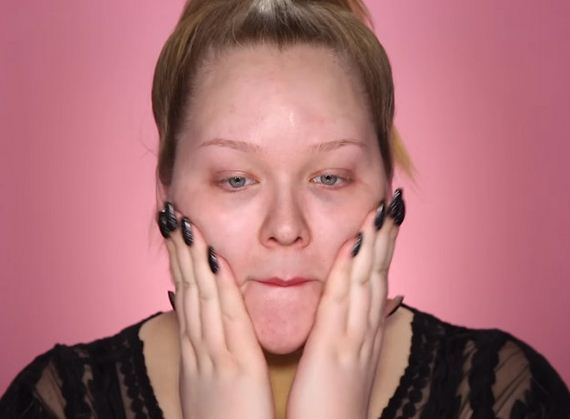
Step 1
Some people like to prime, but some people prefer to moisturize first (like me!).
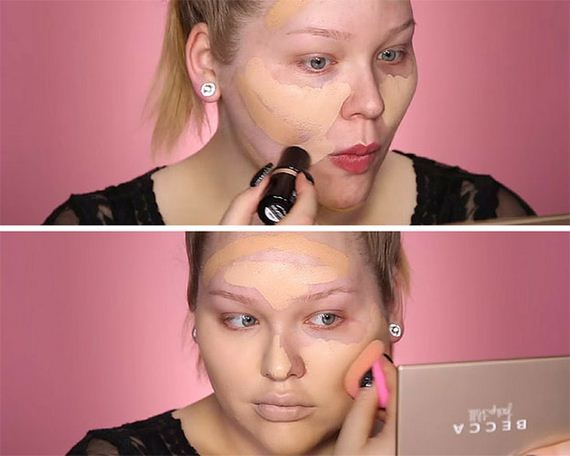
Step 2
You’ll need two shades of full-coverage foundation: one shade lighter and one shade darker. Use the darker shade on the outer edges of the face and the lighter foundation on the center, blending outwards. Blend everything together well.
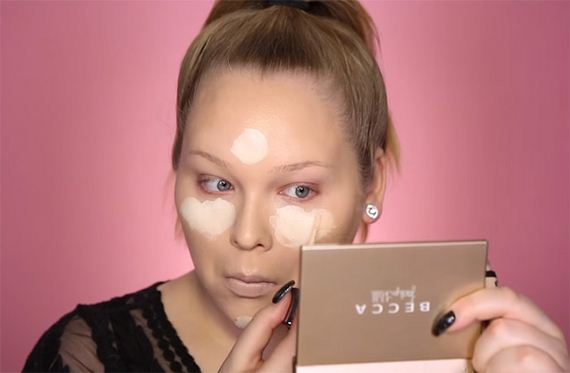
Step 3
Apply concealer under the eyes, chin and on the forehead.
Step 4
It’s baking time! Take out your loose powder and set it in place for 5-10 minutes.
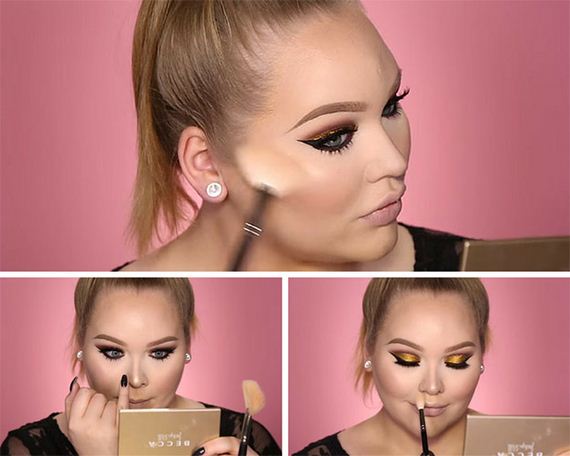
Step 5
The eye makeup is a highlight in this tutorial. To increase color payoff and ensure those pigments last long, apply eye primer on the lids.
Step 6
With a skin tone matte primer, apply on the crease to the brow bone.
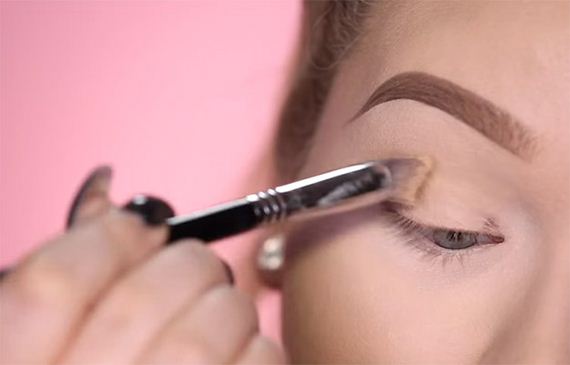
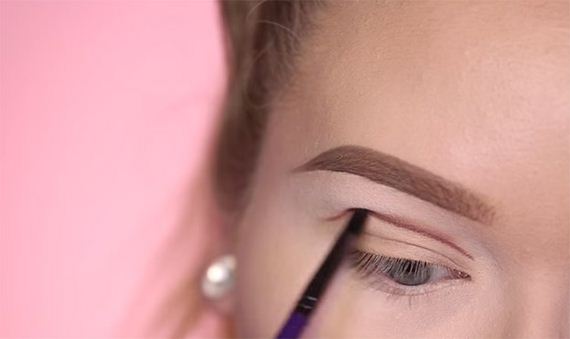
Step 7
Now this is where the magic happens. Using a dark brown eyeshadow, cut your crease. Start from the inner part of the crease and work your way outwards, following the natural curve of the eye.
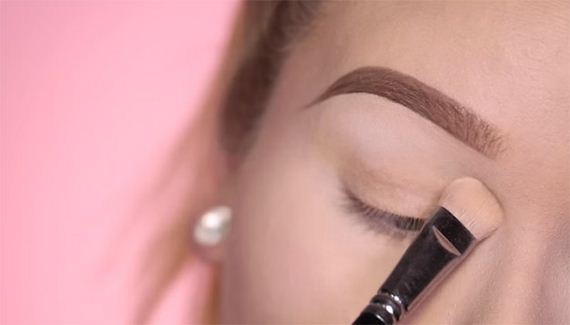
Step 8
Apply a brown eyeshadow on top of the fake crease and blend together. Don’t blend below the line you’ve created.
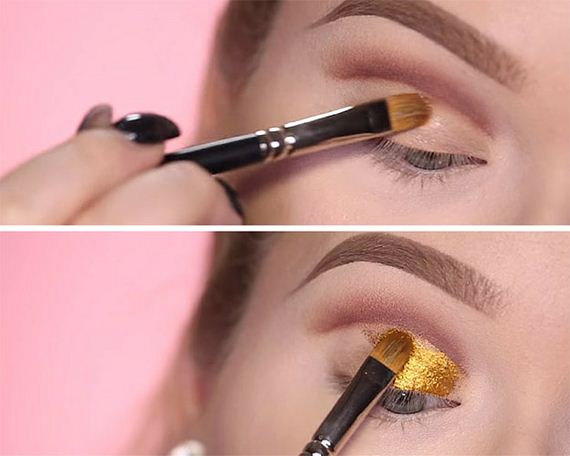
Step 9
Apply a gel activator on the lids to keep those pigments in place. Using the activator can also help line the fake crease to perfection. Once the activator is applied, pack on the gold eyeshadow! The more, the merrier!
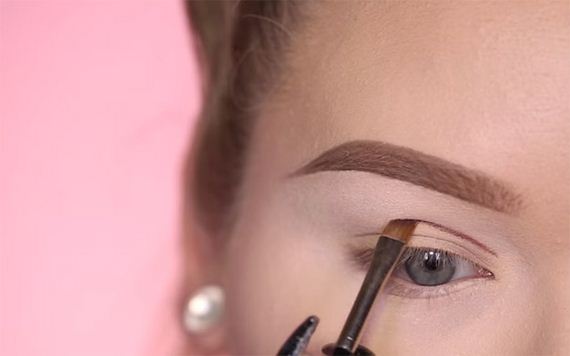
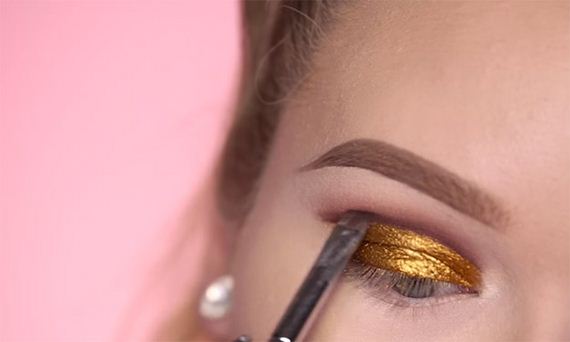
Step 10
Deepen the crease line more.
Step 11
Line the waterline with a black eyeliner, then apply the dark brown eyeshadow on the bottom lash line and smudge together.
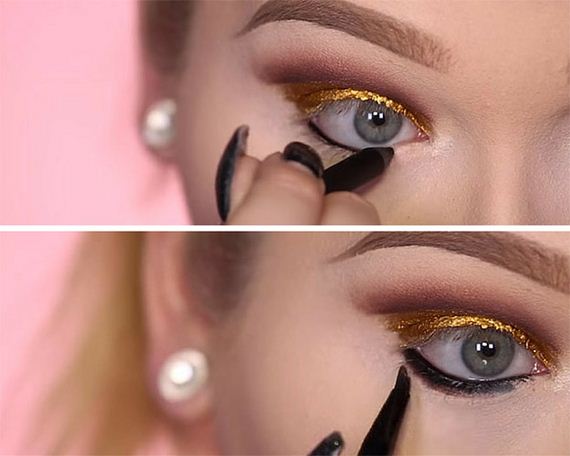
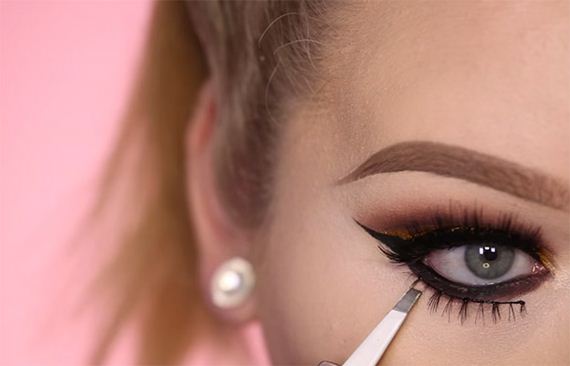
Step 12
Draw on a perfect winged eyeliner.

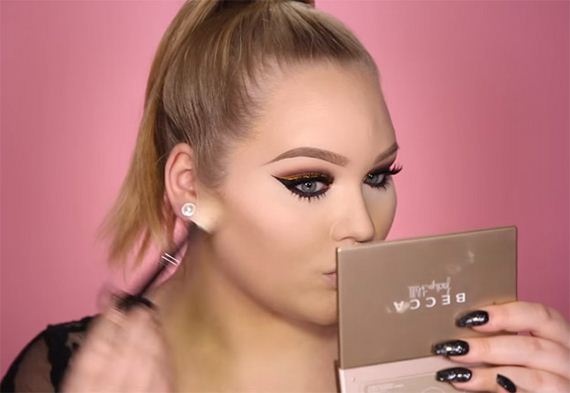
Step 13
Time to put on those falsies, girl.
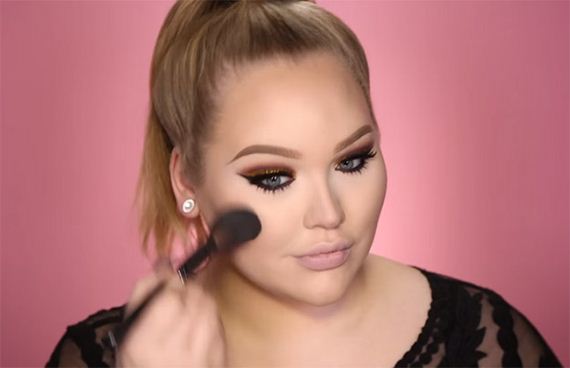
Step 14
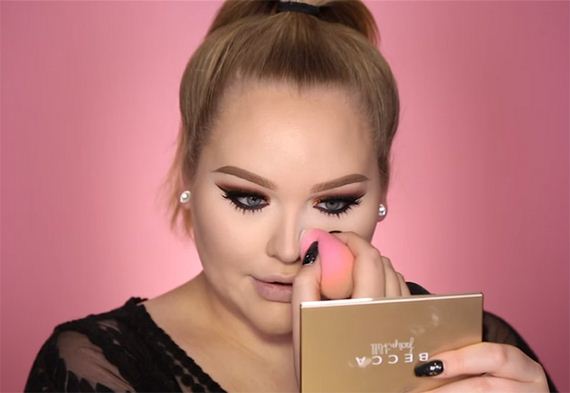
Now that the eyes are finished, let’s move on to some contouring.
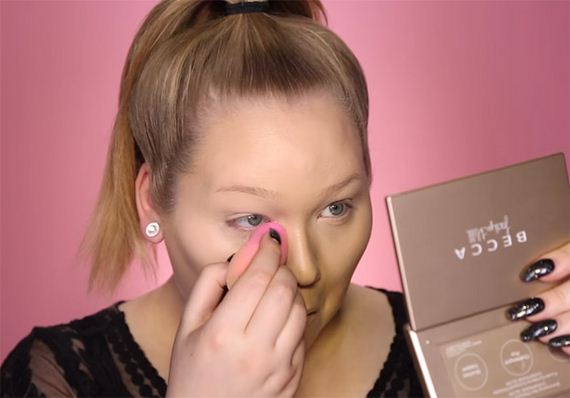
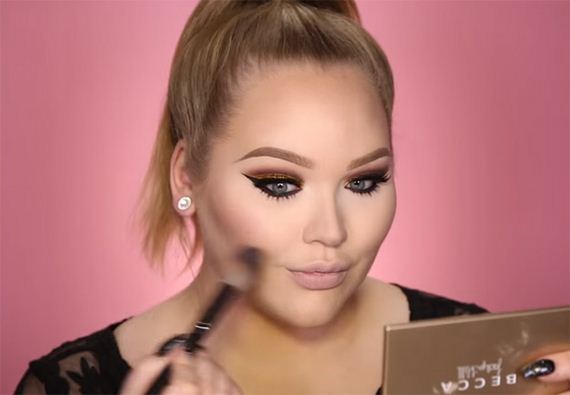
Step 15
For this step, you can either lighten or intensify your contour. If you’re going for the latter but want to soften the intensity in the nose area, a pro tip is to use a brush to soften the line.
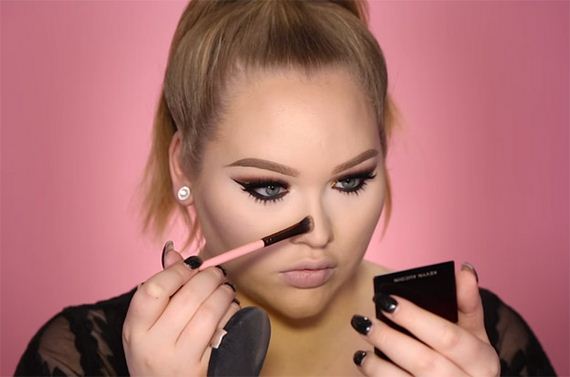
If you want to further accentuate the contour, use powder and bake on the sides of the nose, putting emphasis on the bridge.
Step 16
Get your glow on with some bronzer.
Step 17
Peach blush is best for this look.
Step 18
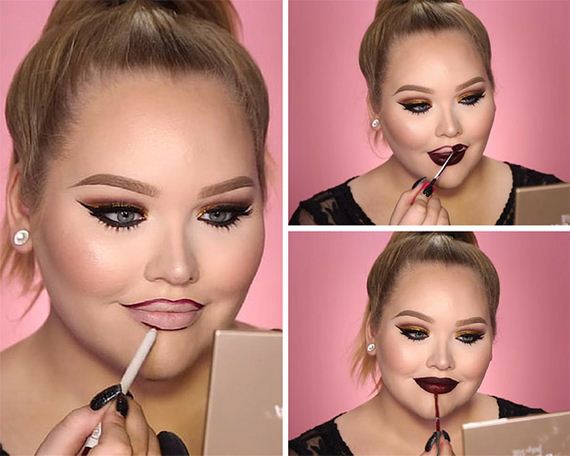
Don’t forget to highlight!
Step 19
Almost there! It’s time to get deliciously vampy. Apply lip liner on the edges of the lips and fill in with a vampy red lipstick. Add one more layer of lipstick on the center of the lips for an even more dramatic pout.
Step 20
Finish the look with some spritzes of setting spray.
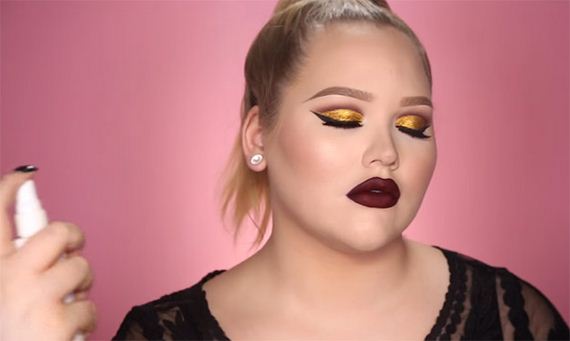
That cut crease, though…
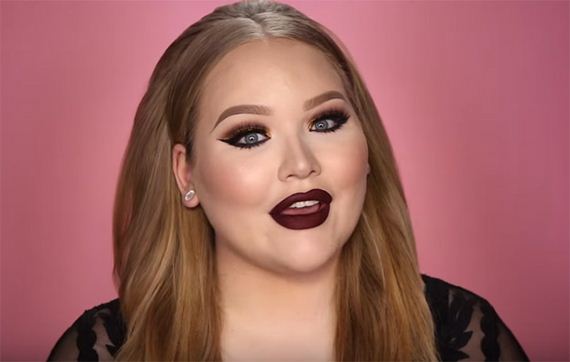
I am loving this va-va-voom look and I hope you are too! I’m a fan of vampy lips so this is definitely something I will add to my growing list of looks to try.
Watch the full tutorial here: