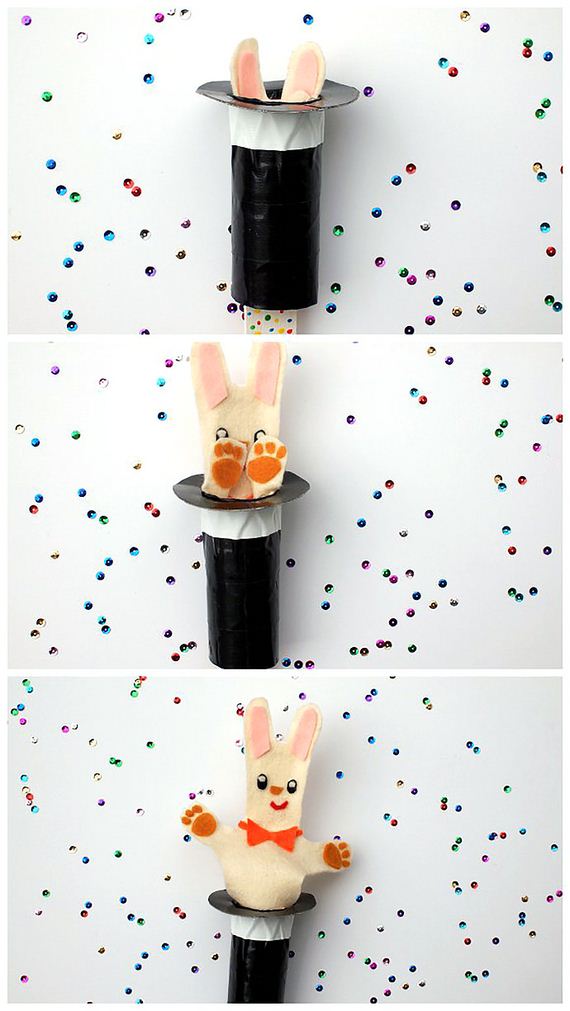
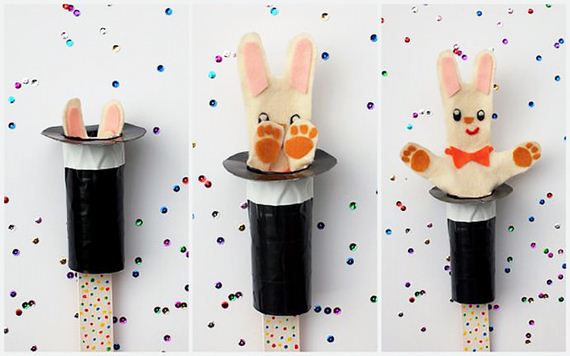
I love watching magic shows. It’s amazing to see a magician pull a coin out of someone’s ear, guess the correct card, or saw a person in half. To bring some of that wonderful magic to my three-year-old son, I made him this pop-up magician’s rabbit. With one simple push, a cute rabbit pops out of a magician’s hat!
Curious to see the magic behind this craft? Let’s get started!
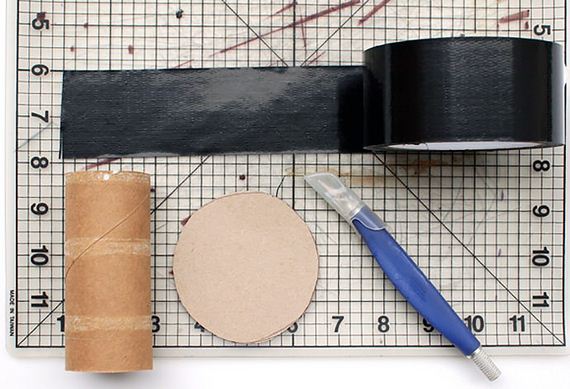
What You Need
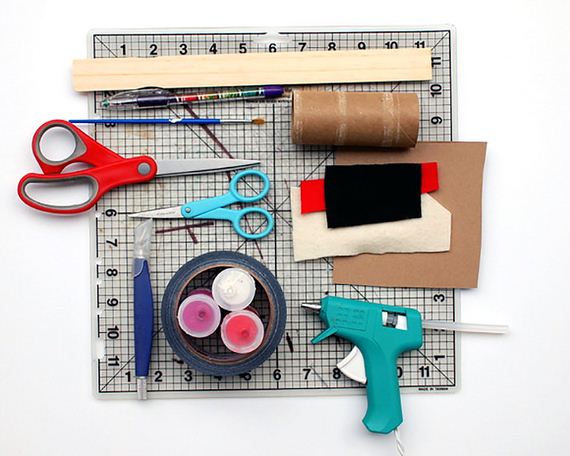
- Cereal Box Cardboard
- Pen
- Toilet Paper Roll
- Wood Paint Stirrer
- Scissors
- Fabric Scissors
- Black and White Duct Tape
- Felt (Assorted Colors)
- Hot Glue Gun
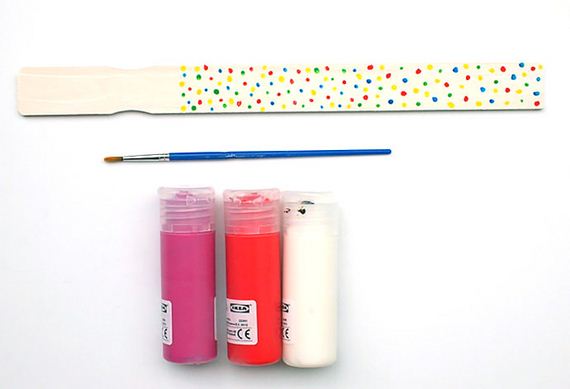
- Paint
- Paint Brushes
- Craft Knife
- Cutting Mat
How-To
Step 1
Cover your work area. Paint your wood paint stirrer. (I didn’t decorate the top portion because it wound up being covered by the rabbit’s head.)
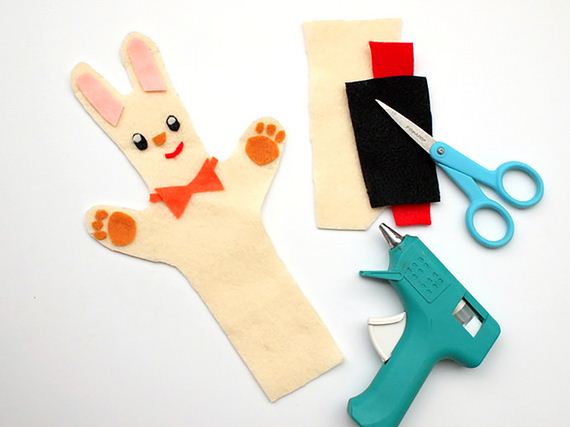
Step 2
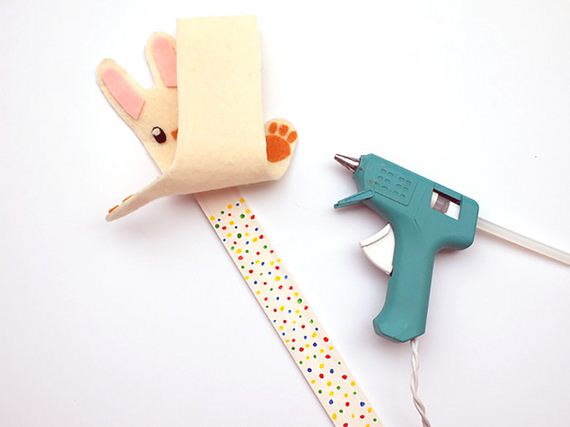
Cut out a felt bunny. (I made mine about 9 1/2” from the tops of the ear to the bottom. But then trimmed about an inch from the bottom in step 8 for aesthetic reasons.) Glue on felt for the rabbit’s face, ears, bowtie, and paws. Don’t glue anything onto the rabbit’s stomach. The felt needs to be soft enough to fold easily into the magician’s hat.
Step 3
Draw a cereal box circle that’s larger than your toilet paper roll opening. This will be the brim for the magician’s hat. Cut the circle out. Begin cutting out some duct tape pieces to cover the toilet paper roll and circle. (To cut duct tape, pull and stick your duct tape onto your cutting mat. Then, use your craft knife to slice through the duct tape. This will give you nice, neat cuts every time.)
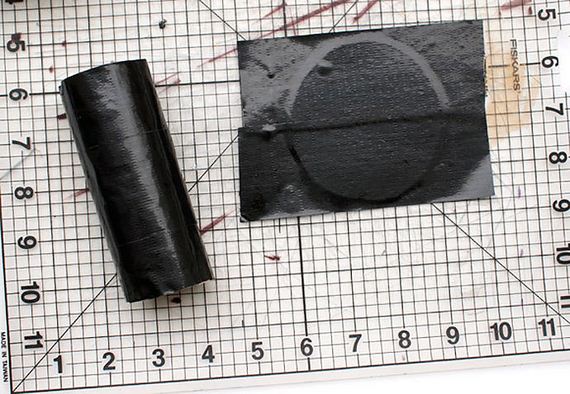
Step 4
Cover the toilet paper roll with duct tape strips (about 6 ½” long). Then, cut out strips to cover both sides of your hat brim.
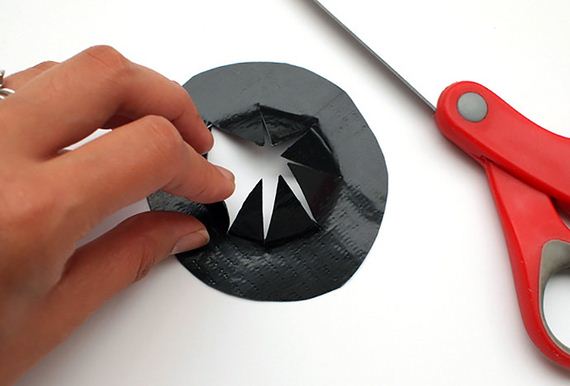
Step 5
Use your scissors to trim off the excess bits around your hat brim. Then, trace your toilet paper roll onto the center of your hat brim. Cut out slits radiating from the center to your traced circle. These slits will allow you to slide your brim over your toilet paper roll.
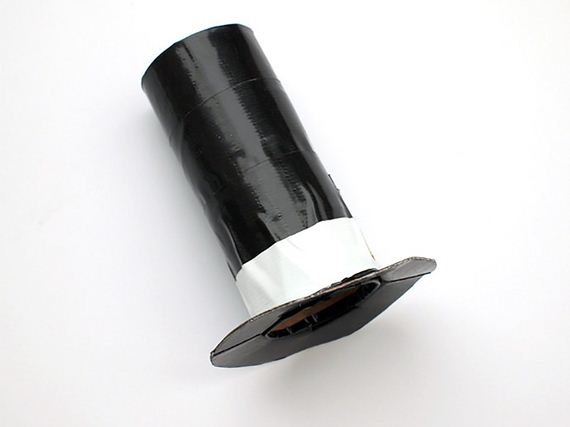
Step 6
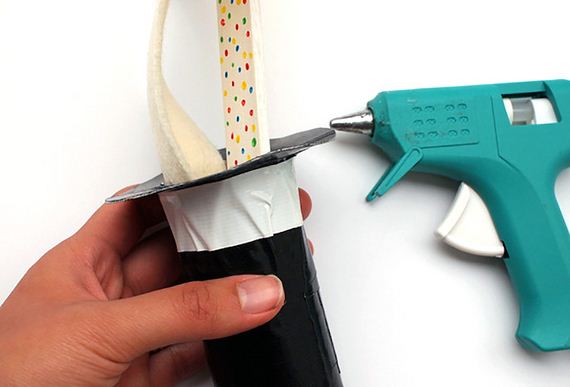
Assemble your hat by pushing the toilet paper roll through your brim. Use duct tape to secure both pieces together and create your magician’s hat.
Step 7
Hot glue the rabbit’s head to the top portion of the painters stick (above the notch in the stick.) Leave the middle of the body loose to ensure that the rabbit folds into the hat.
Step 8
Hot glue the front, bottom portion of the bunny to the front, inside portion of the magician’s hat. (Note: Prior to gluing, move your rabbit and stick in and out of your hat to see if you should shorten your rabbit’s torso. I started off with a rabbit around 9 ½” but then shorted it down to 8 1/2″ because the torso was way too long and looked weird.)
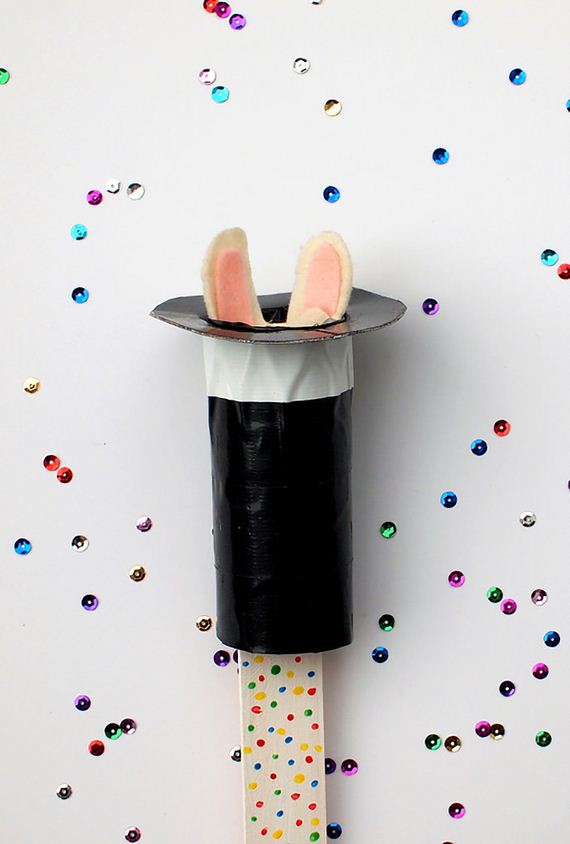
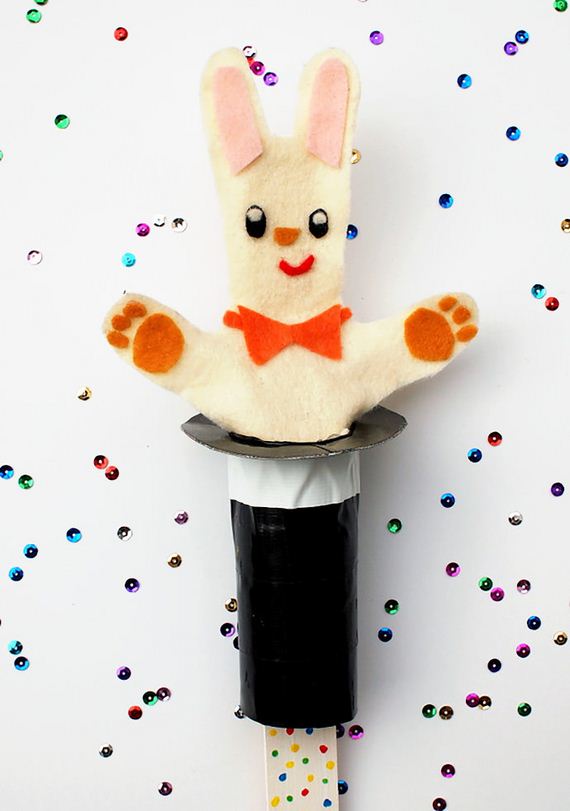
Now you’ve got yourself a magician’s rabbit pop-up puppet! Push the stick up and the rabbit should pop out of the hat. Then, pull it down and the rabbit will slide back into the hat.
I had a lot of fun designing and making this craft and my son adored playing with it. Hope you and your kids have fun making and playing with this magical craft, too! Happy making, friends!